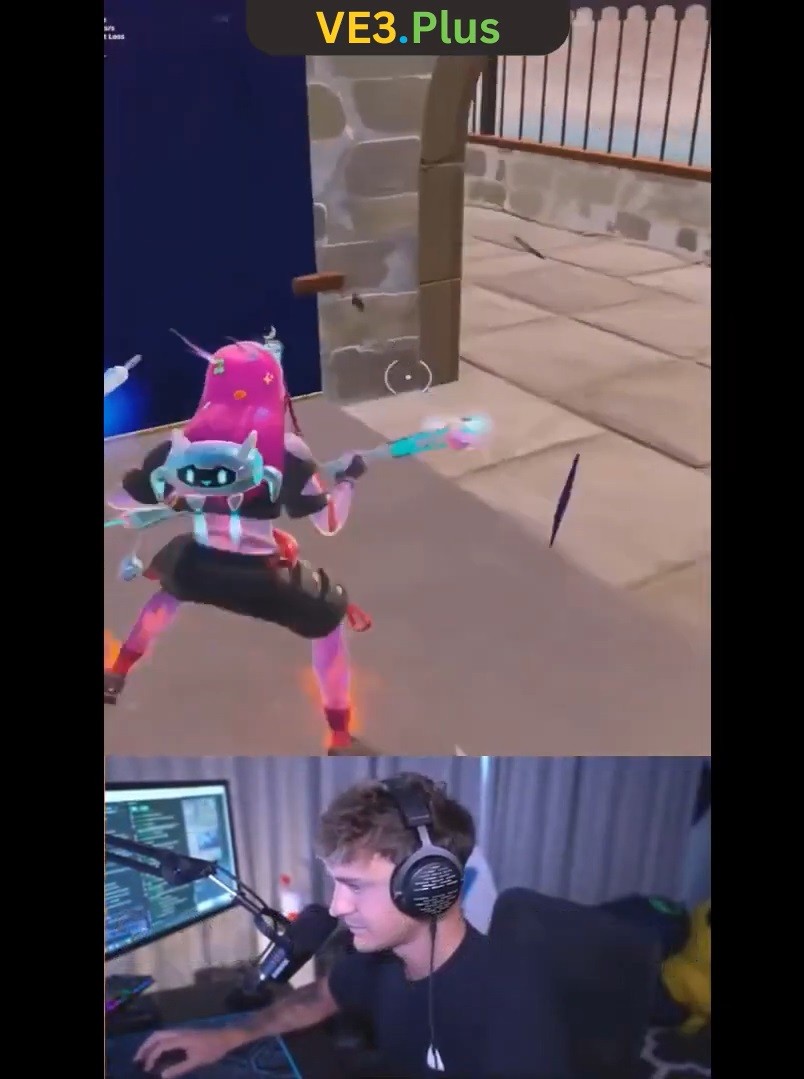
By taking advantage of the Factory > Area > Sync feature of the Hit Gun mode, you can convert your stream content into short videos within minutes and upload them to platforms like Instagram, TikTok, and YouTube to grow your audience.
Hit Gun > Factory > Area > Sync Feature
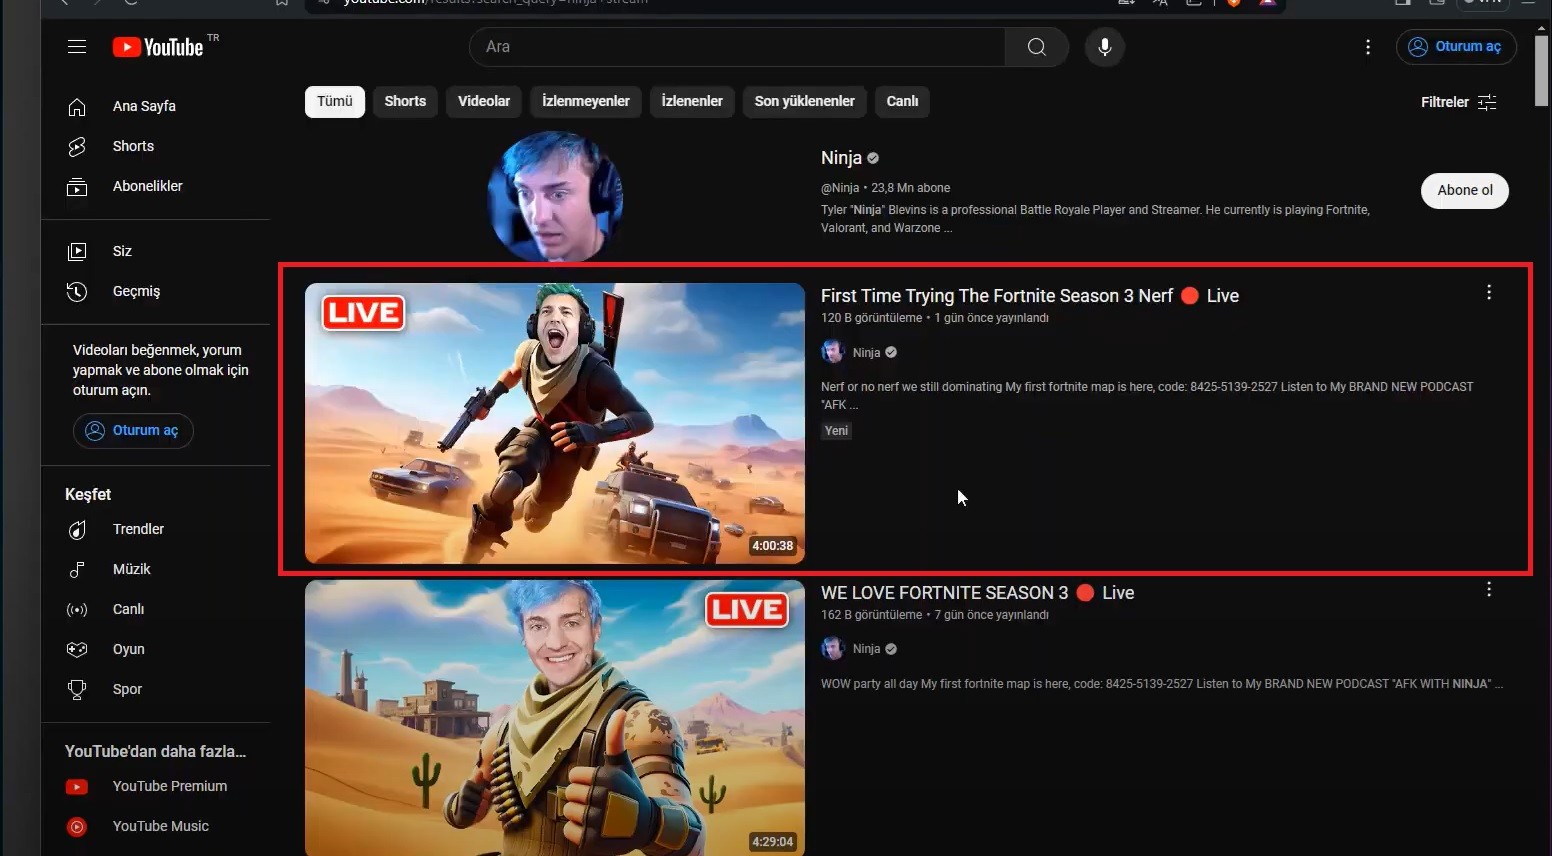
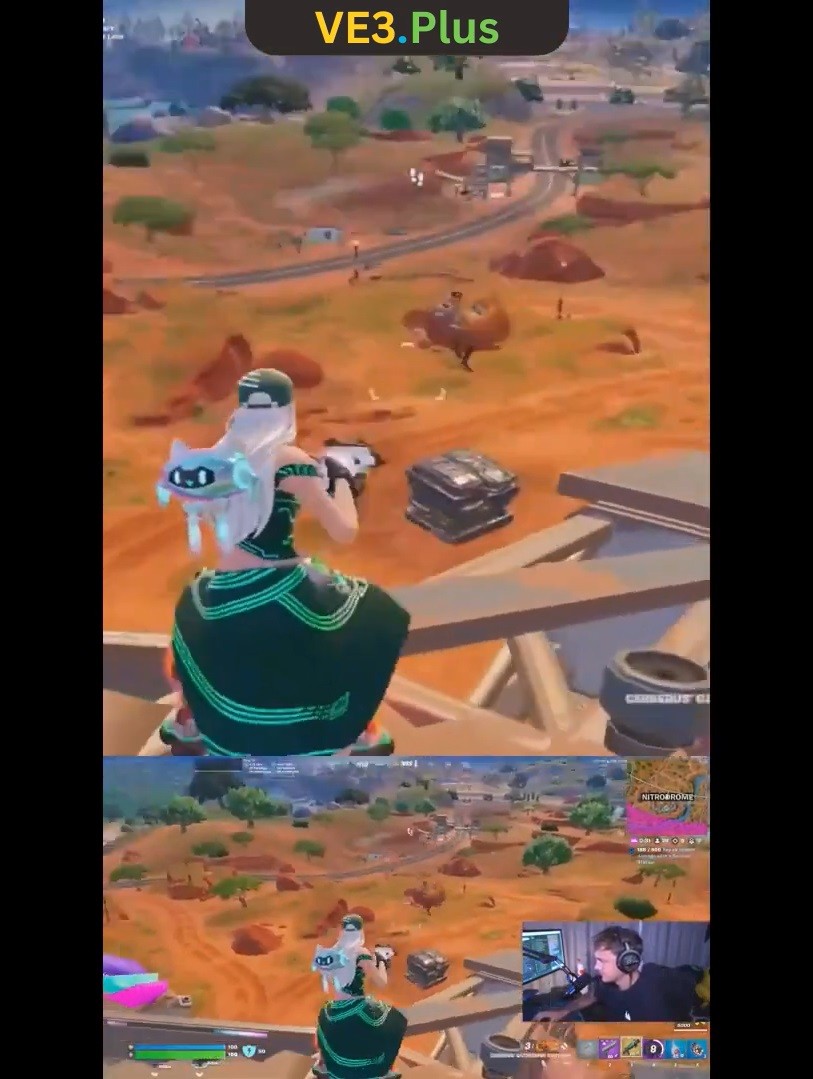
In this tutorial, 2 vertical (9:16) videos were created in minutes after a few simple settings that took seconds over a 4-hour broadcast of a world-famous broadcaster named Ninja.
🌱 Process Steps
1️⃣ With the URL feature, the target video is integrated into VE3.Plus.

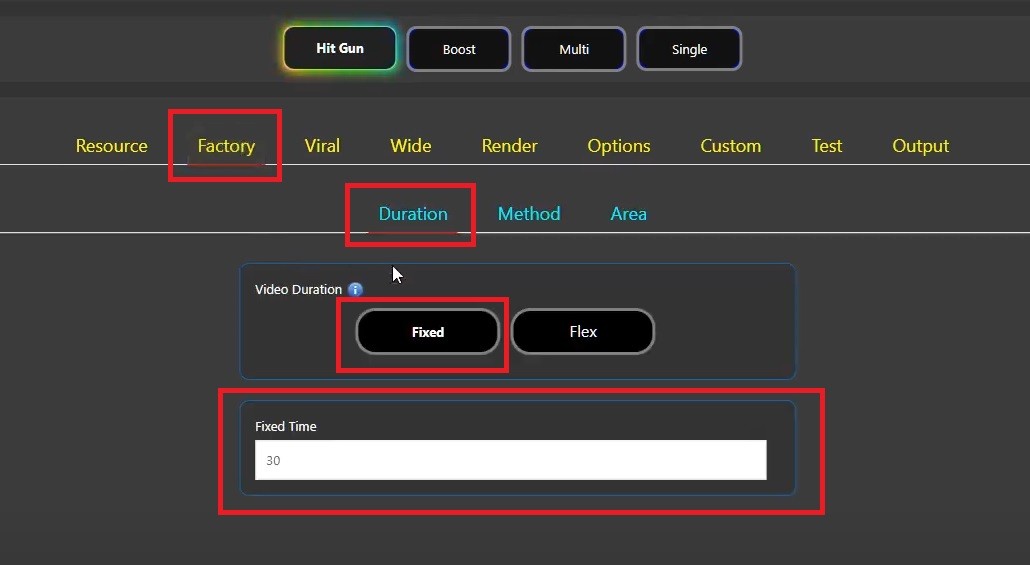
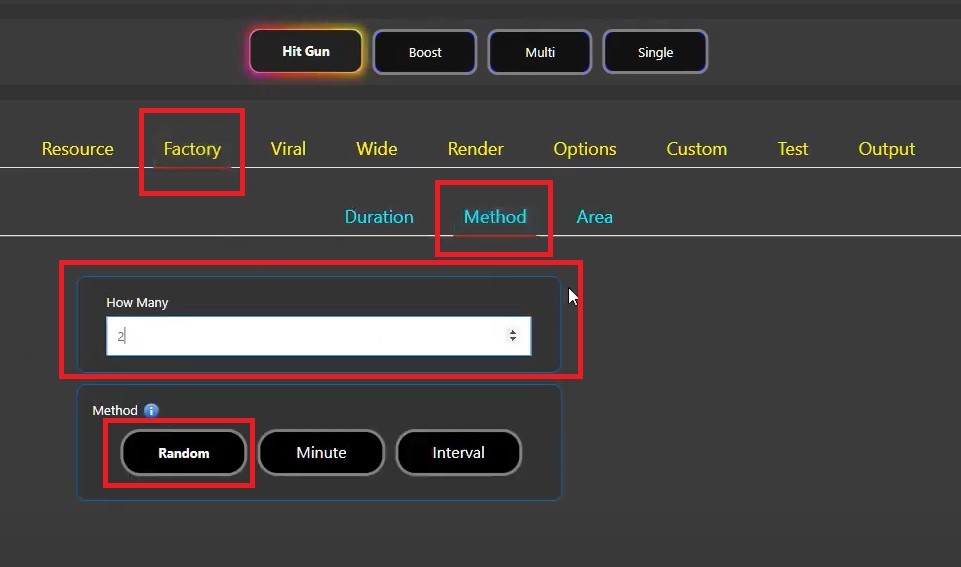
3️⃣ By selecting Hit Gun > Factory > Method > Random mode, the information that random moments of 4 hours of content will be used is defined to the system.
4️⃣ When Hit Gun > Factory > Method > Random mode is active, content generation is performed as much as the value entered in “How Many”. By entering 2 in this field, the information that 2 content will be produced is defined to the system.
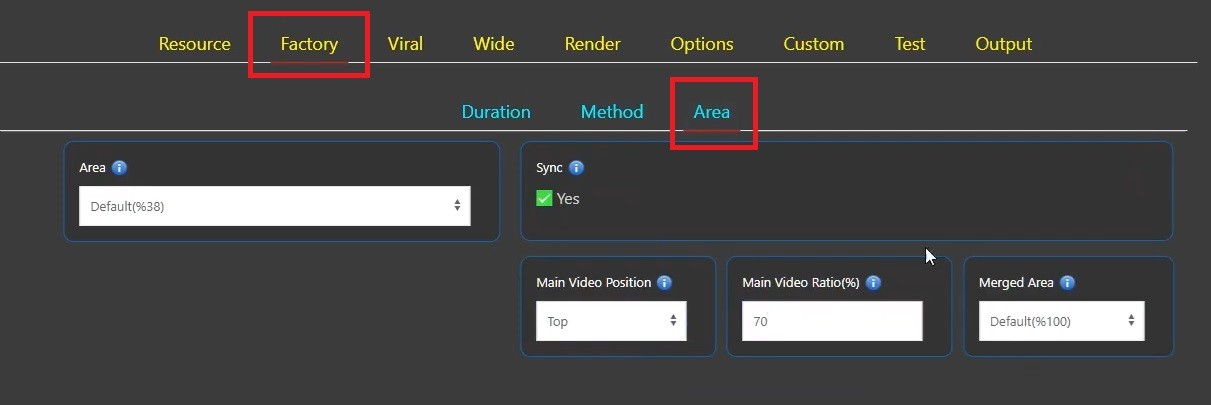
5️⃣ By switching to Hit Gun > Factory > Area, the Area setting was left at “Default (38%)” and then the Sync feature was enabled.
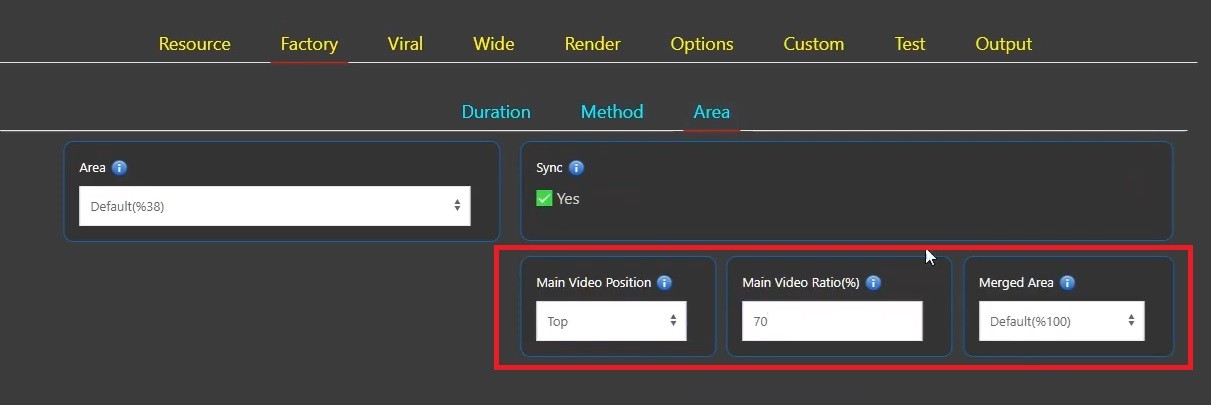
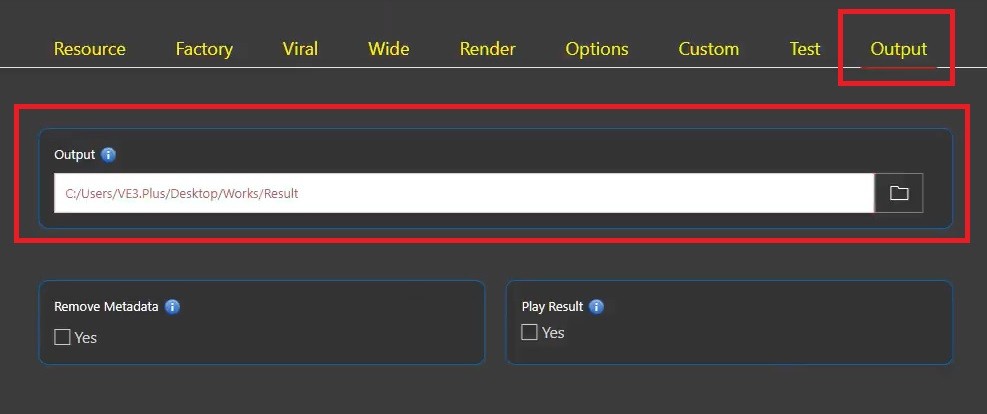
7️⃣ After checking the rendering settings, the system was started by determining the place where the content to be created will be saved from the Output section.
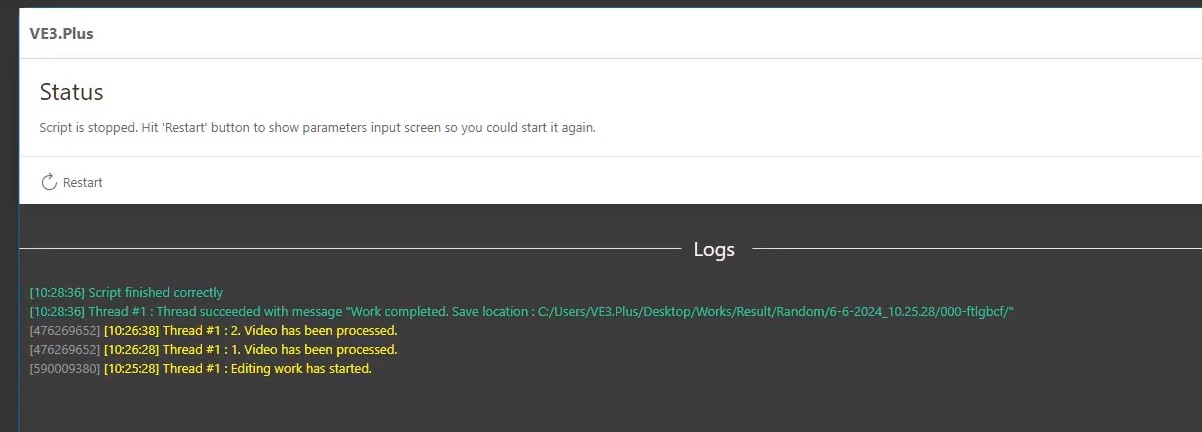
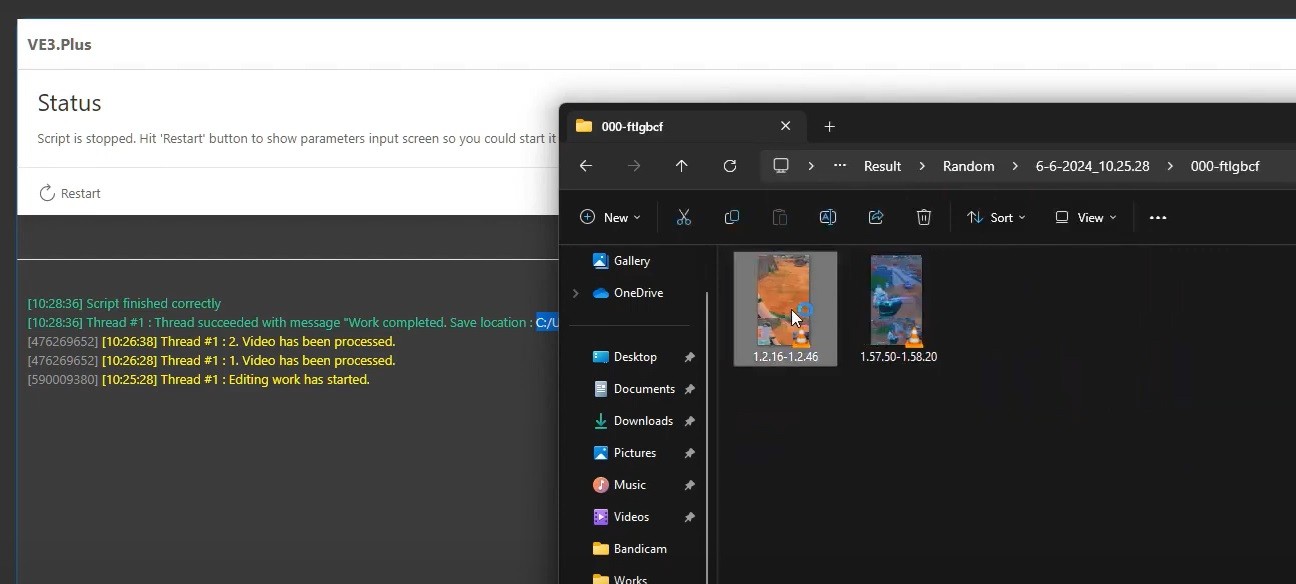
8️⃣ After the rendering process, the produced contents was reviewed and the work was successfully completed.
Hit Gun > Factory > Area > Sync > Pixel Feature
With the Merged Area > Advanced feature, the main video where the Sync process will be performed can be customized. By default, the entire main video is used, but when the Advanced option is selected, you can integrate any part of the main video into the produced content. The Pixel option allows for detecting the resolution values (e.g., 500×245) of the area to be used.
🌱 Process Steps
1️⃣ With the URL feature, the target video is integrated into VE3.Plus.


was selected as.

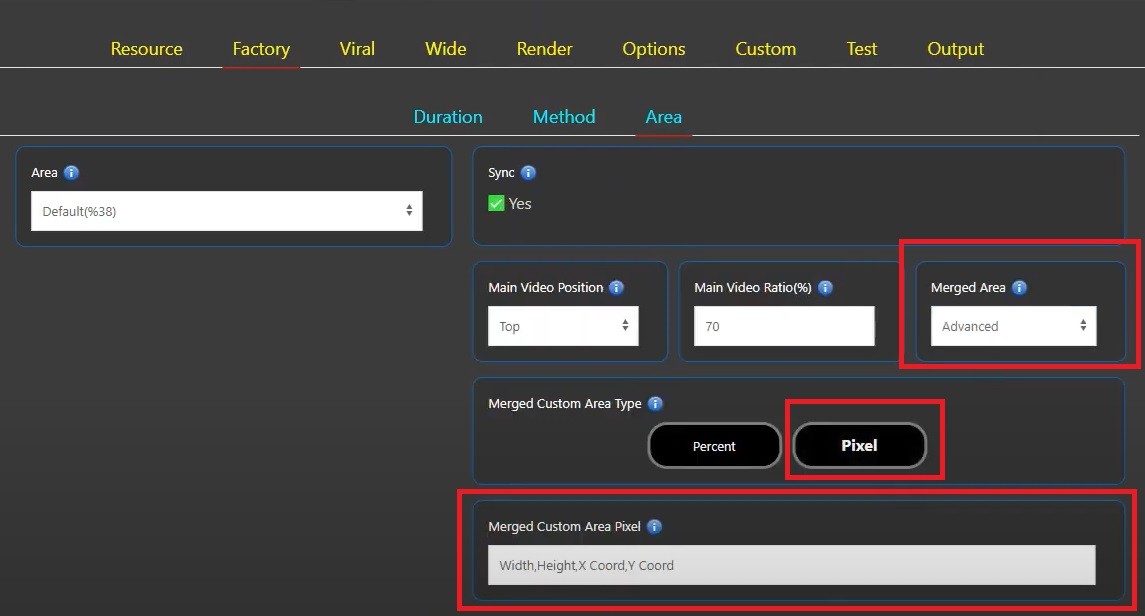
5️⃣ Merged Custom Area Type is marked as Pixel.
⚠️ When pixel selection is made, the values to be entered are Width, Height, X Coord, Y Coord respectively.
6️⃣ Render controls were made and then the Output folder was defined.

7️⃣ After completing the preliminary steps, details for the Pixel settings were addressed.
8️⃣ The video was made full screen and the image was imported into Paint.
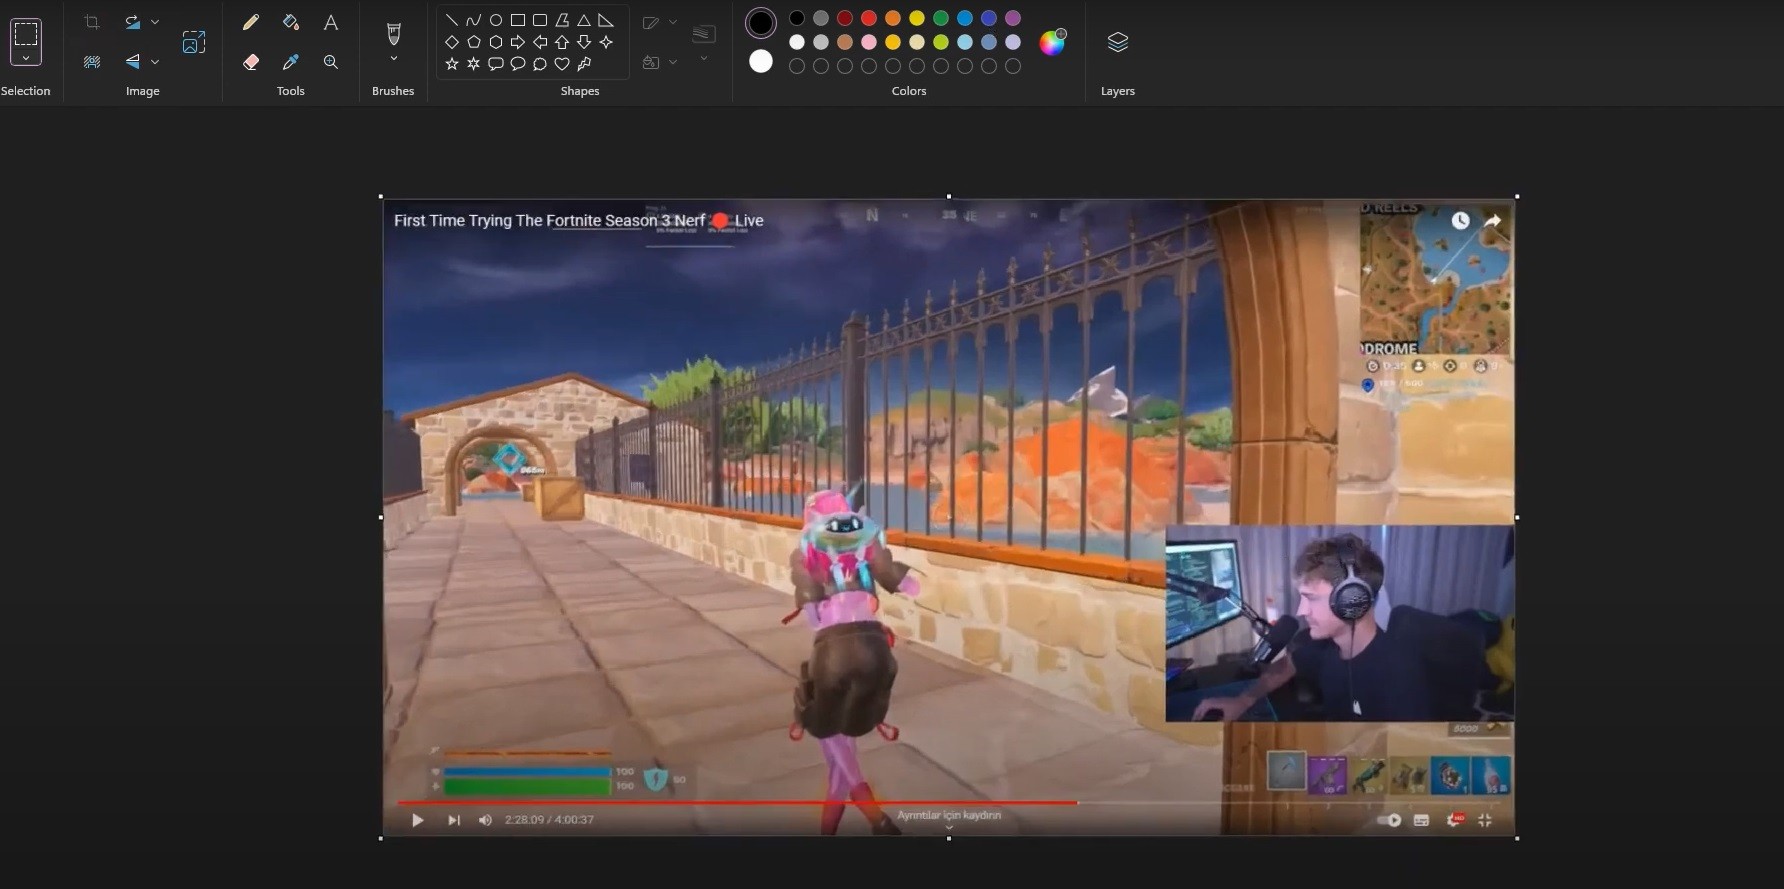
⚠️ VE3.Plus handles 1080p images by default. If the content used is of lower quality, it works with the highest available quality (e.g. 720p). The resolution ratios to be processed are determined according to these qualities. At 1:08, this detail is specified, and for this content, processing will be performed at 1080p resolution.
9️⃣ The area to be obtained from the video was determined with a yellow rectangle and 592×334 values were added to the relevant section in the system as Width and Height values by checking the ratios from the bottom left.
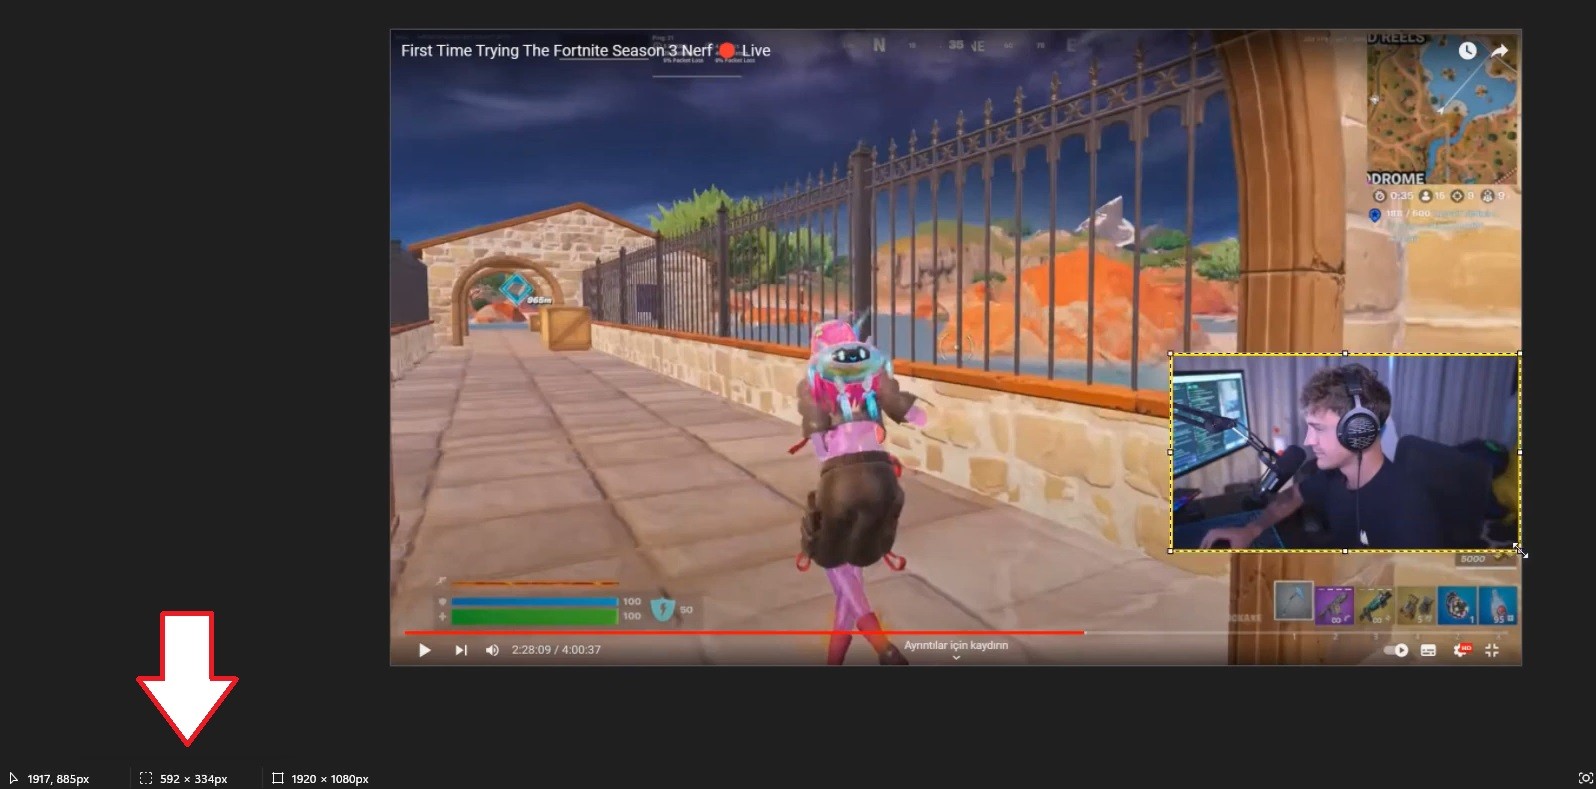
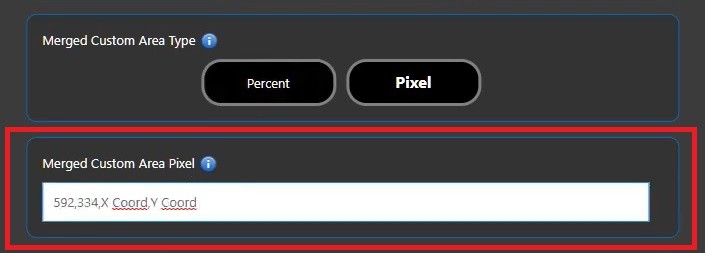
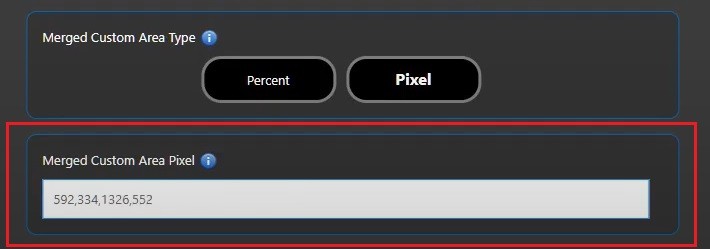
⚠️ The entered values are separated by commas(,) and there are no spaces between them.
🔟 The last step is to determine the coordinate of the image to be acquired. To do this, move the mouse to the starting point of the yellow rectangle and capture the coordinate from the bottom left of Paint. For this example, our coordinate is : 1326×552.
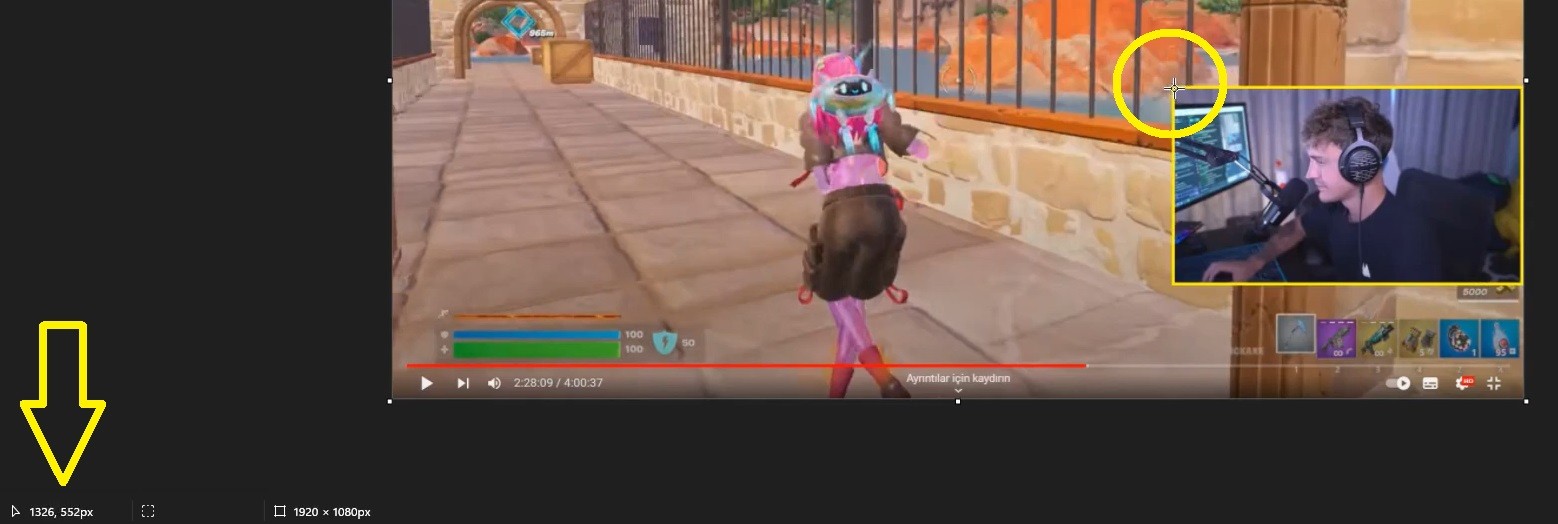
1️⃣1️⃣ The obtained coordinate was added to the end of the Width and Height values and the work was started.
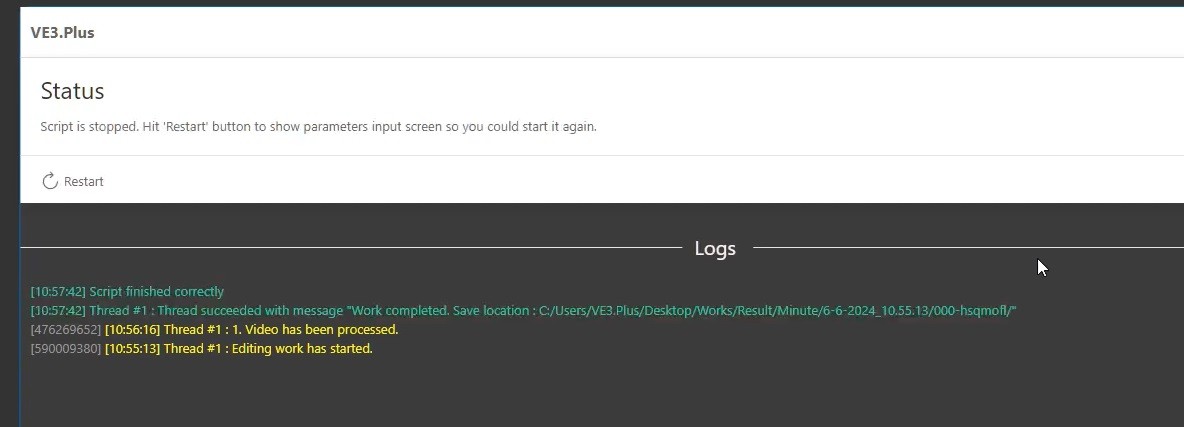
1️⃣2️⃣ After the study was completed, the saved file was checked and the process was successfully completed.

Hit Gun > Factory > Factory > Area > Sync > Percent Feature
Merged Area > Advanced > Percent option allows for detecting the desired area of the video using percentage values, unlike the Pixel settings.
🌱 Process Steps
The steps are the same as for the Pixel feature described above. The difference is that the Percent feature will be explained instead of the Pixel feature.
1️⃣ The video image has been added to Paint, and the desired section of the video has been marked with a red rectangle.
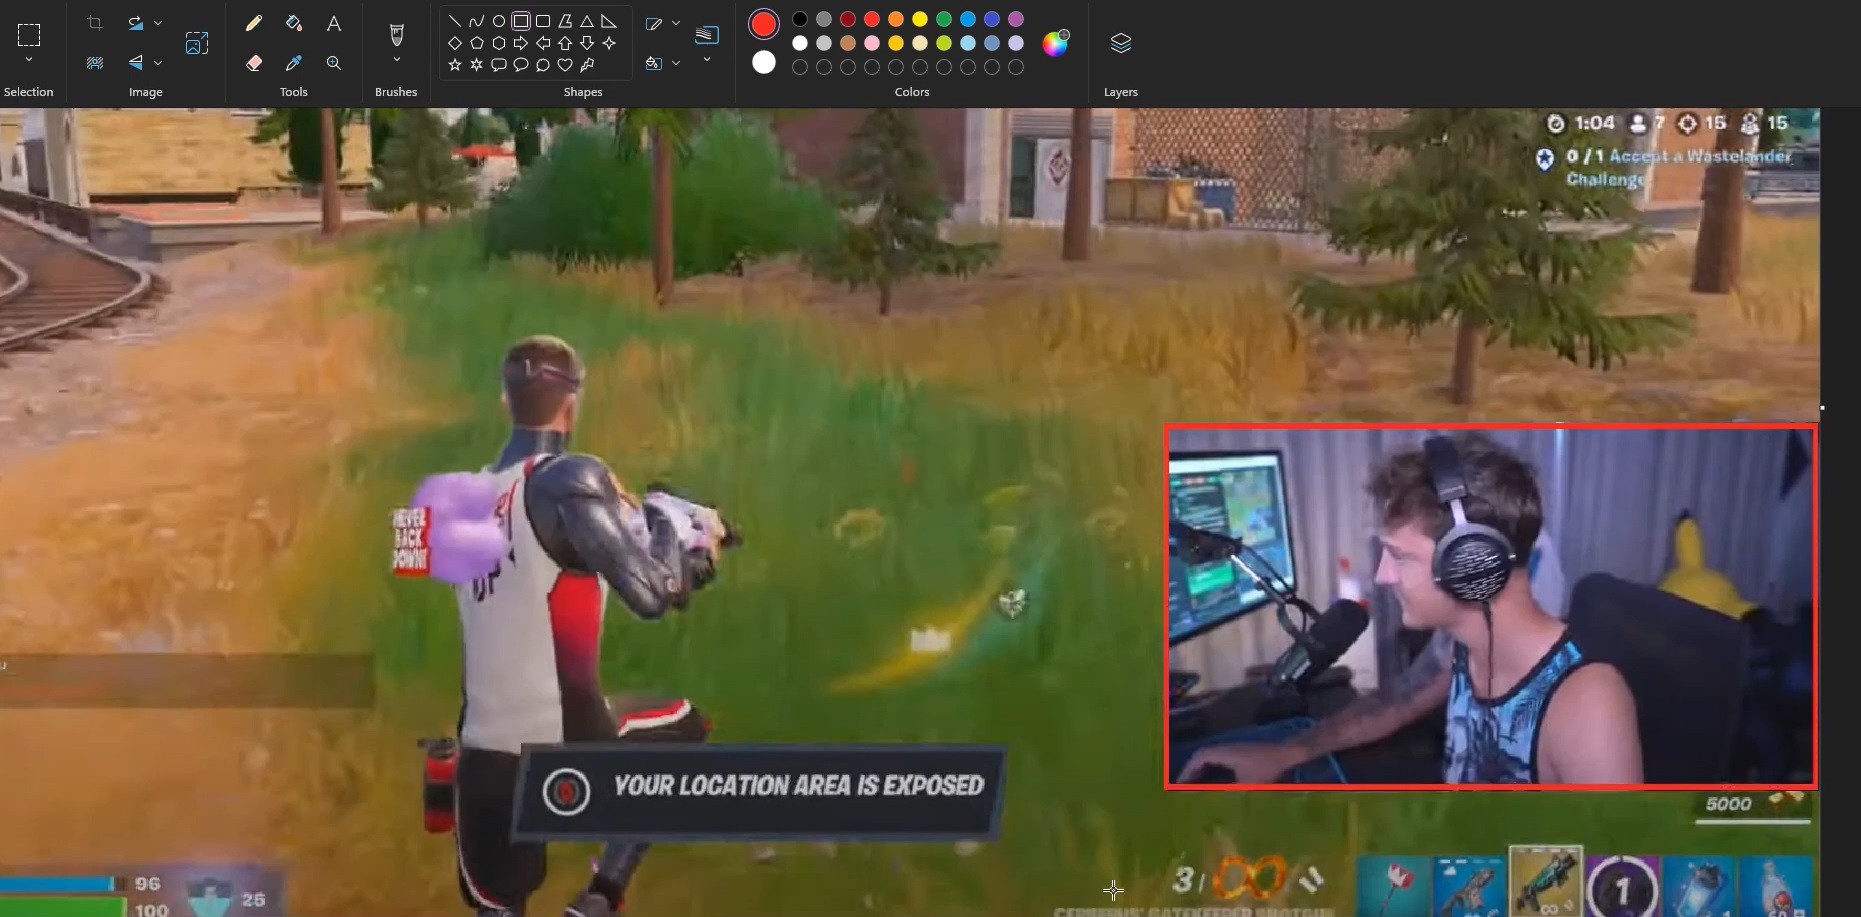
2️⃣ Instead of determining percentages by making estimates, percentage calculations can be made to obtain results based on clear data.
⚠️ Percent settings are added to the system in the order “Top, Bottom, Left, Right”. The data are separated by commas(,) and there is no space between them.
3️⃣ Top, Bottom, Left and Right data;
Top :X*100/Height
Bottom : 100-(X*100/Height)
Left : X*100/Width
Right : 100-(X*100/Width)
determined by calculations and defined to the system.
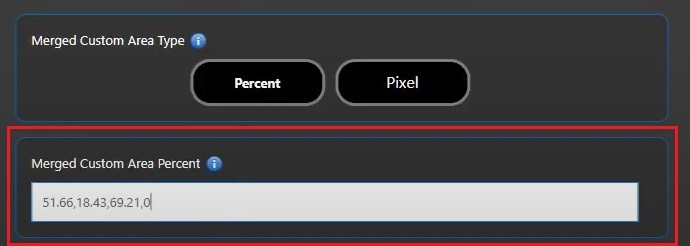
4️⃣ After all values were set, the system was run, and the work was completed by checking the Output folder.
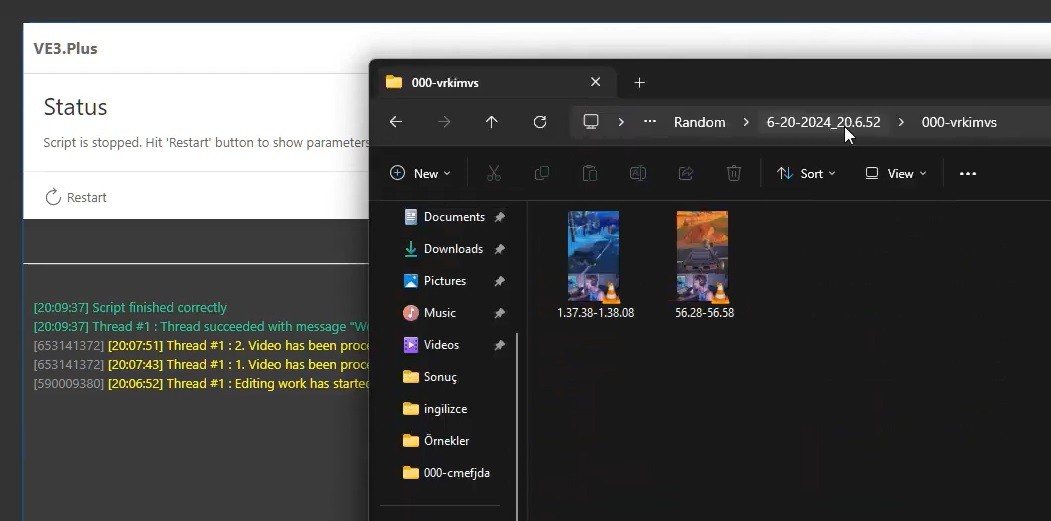
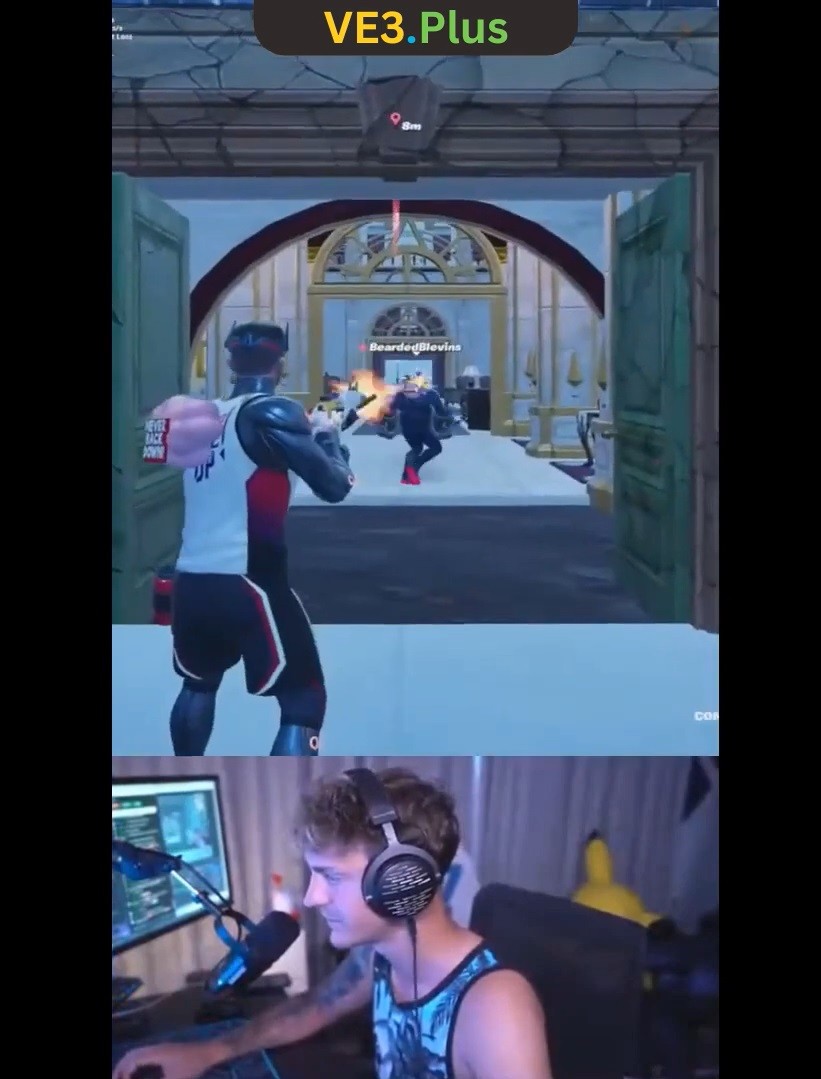
🏮 You can decorate all these created contents as you wish by using the system’s customization options (add images, add text, etc.) and dress them with different designs.
ℹ️ When the Wide feature is not enabled, all content is produced vertically by default. The Sync feature allows the video being used to be integrated into the simultaneously produced content. With the Pixel and Percent options, you can ensure that the desired section is integrated.
📕 Learn More
📺️ Tutorial List (Fast Access)