By combining Canva's unique design creation power with VE3.Plus's various sub-modes, you can create an unlimited number of unique contents and promote your products on all social media platforms without concerns about spam, repetitive content, etc.
In this tutorial, we will learn how to create an unlimited number of unique videos by integrating product and related attention-grabbing content into a design prepared with Canva in minutes.
ℹ️ Unique content is one of the key factors that prevent you from being flagged as SPAM by social media platforms. If you continuously share the same content, the likelihood of receiving a hidden ban, known as a Shadow Ban, increases over time. When this happens, your newly produced content will no longer be shown to people. Therefore, producing unique content (fresh content) is a major focus for social media platforms, and they take various measures to ensure it.
🚀 Gains to be Achieved
The most important condition for promoting a product on social media is to capture the attention of the “target audience.”
No matter how good, durable, and attention-grabbing the product is; if user interest cannot be captured within the first 1-2 seconds of attention span reduced to seconds, there will be no interest in the product.
With videos produced by VE3.Plus, this threshold can be surpassed, and user interest can be focused on the product.
Here are the main reasons and the gains achieved:
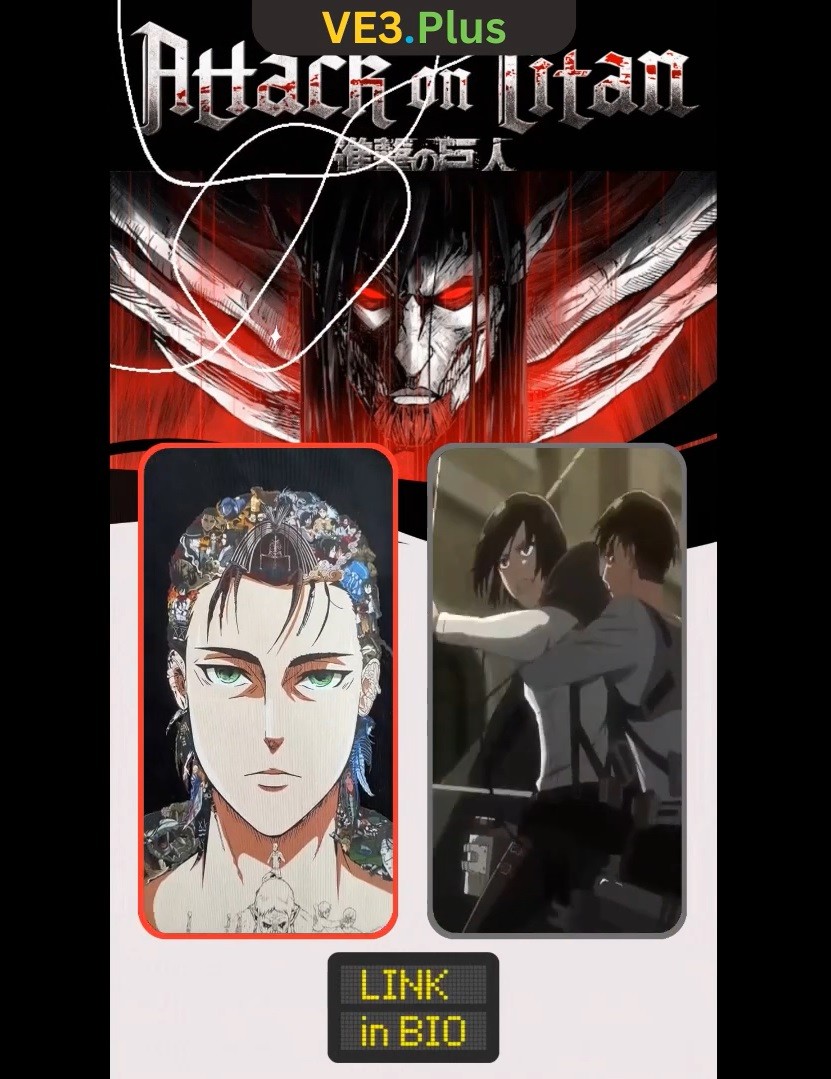
🏮 The product is presented by combining it with content that interests the target audience. This way, even if they are not interested in the product, the audience interested in the content will not skip the promotion immediately and will want to check out the content.
🏮 The audience focused on the content will also start to look at our product video placed right next to the content, increasing the time and attention they dedicate to the product.
🏮 With the “Link in Bio” message, the audience will get the information that they can quickly purchase the product via the link in the bio. This shortens the sales process to seconds by resolving any doubts they may have.
🏮 Each new content produced contains a different scene that hasn’t been created before; so, the user engagement rate will increase with every shared video. Even if the impact rate from one video is low, the impact rate can increase with a different content presentation.
🏮 Social media platforms have developed algorithms to present user-generated content to more people. One of the main criteria these algorithms consider is how many seconds it takes for users to skip the videos.
For example, let’s consider two videos. If the first video is skipped at the 1st second and the second video is skipped at the 4th second.
In such a scenario, the algorithm will decide that the video skipped at the 4th second is more valuable than the video skipped at the 1st second, and will start recommending this video to more people. Meanwhile, the video skipped at the 1st second will remain in the background and will be recommended less frequently.
Since our content is produced using different triggers (stylish and unique designs, attention-grabbing scenes, etc.), it will reduce the rate at which users skip the content in the first second. This will give us a competitive advantage over other content skipped in the first second and increase our chances of being recommended more often.
🏮 The account’s growth will be ensured, and as the account grows, the reached audience will increase, leading to a positive impact on sales.
Since the created content includes real content related to the product, even if the audience isn’t interested in your product, they might still want to follow your account to see new content.
As a natural result, your account will begin to grow and improve.
In the expanding reach, the number of users we can sell to will increase.
🏮 It provides direct access to the “target audience.”
Since we present our product combined with related content, this content is scanned by algorithms and matched with relevant topics.
As a result of this matching, it starts to be shown to users interested in this type of content.
Thus, beyond just using tags, titles, and other SEO efforts to reach our target audience, the content itself becomes part of this effort, ensuring direct access to our target audience.
🏮 It enables the promotion of any product and boosts sales.
Regardless of the category of your product, all you need is to present it in an engaging way.
Once you create such a design/content arrangement, users will focus on the content and also glance at the product next to it.
For example, you can present your product alongside engaging content like a car race, football video, or slime content. While users focus on these contents, your product will be promoted right next to them.
However, we recommend presenting the product alongside content related to your category. This way, you can reach your real target audience.
Example:
If you sell yacht accessories, integrate the product with engaging content related to luxury yachts, yacht clubs, sail racing, etc. This approach will help you reach your actual target audience.
🏮 And countless other advantages…
🌱 Process Steps
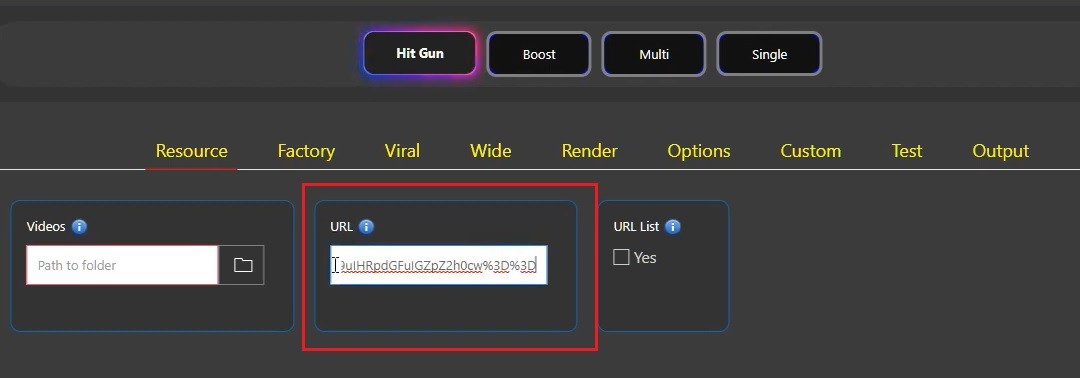
1️⃣ With the URL feature, the target video is integrated into VE3.Plus.
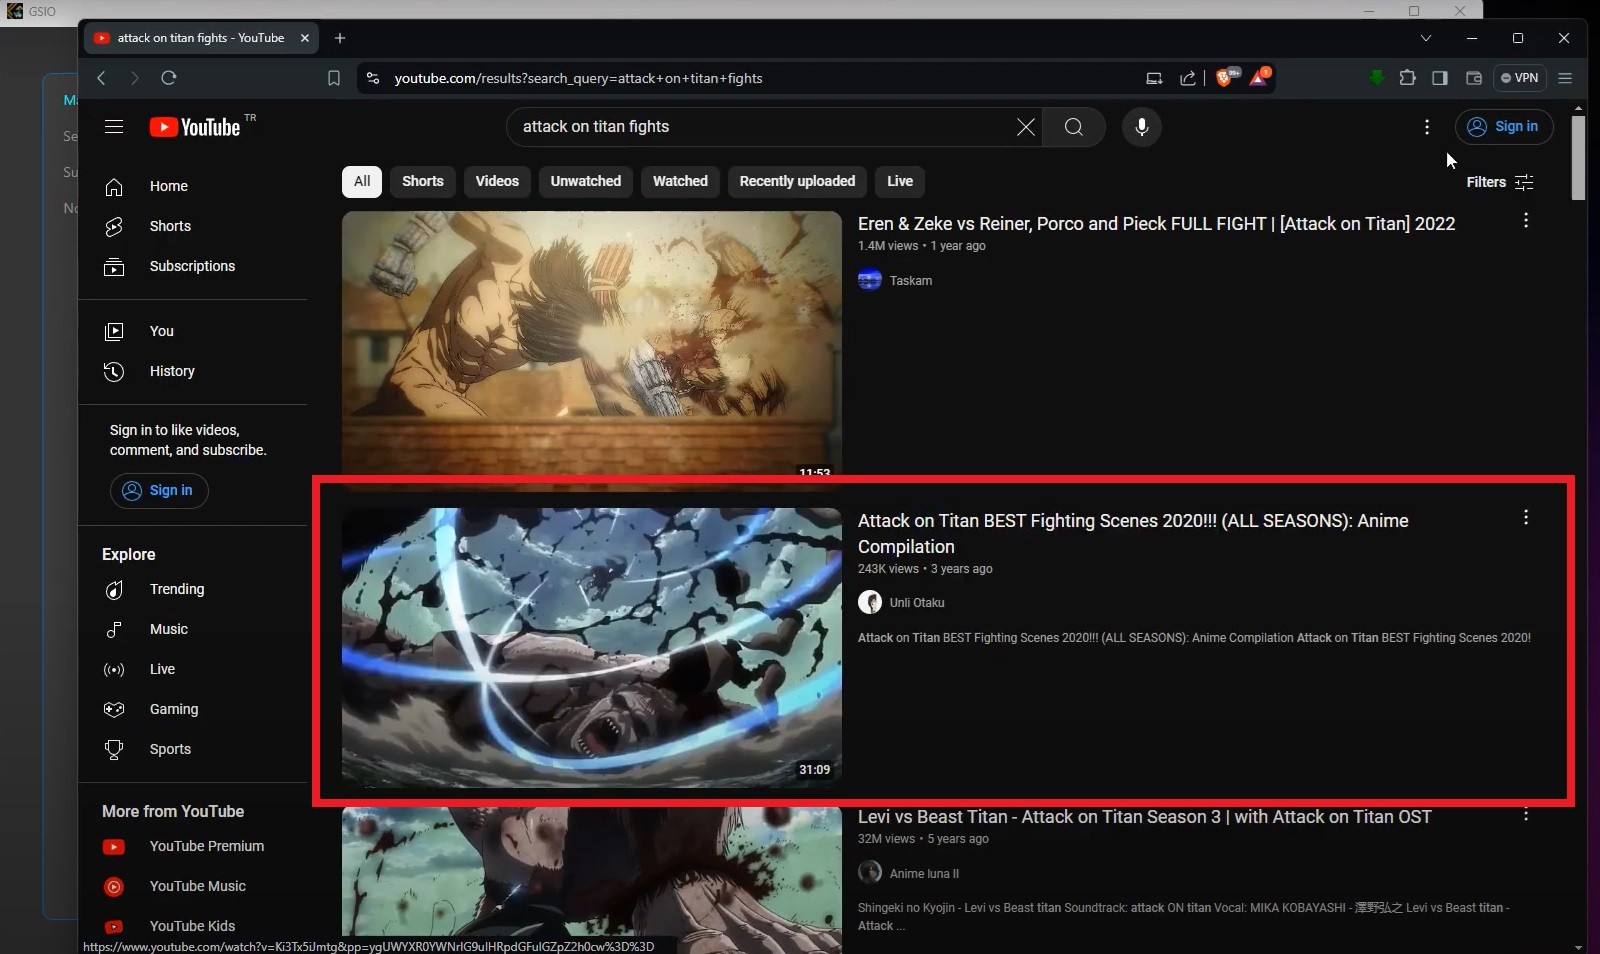
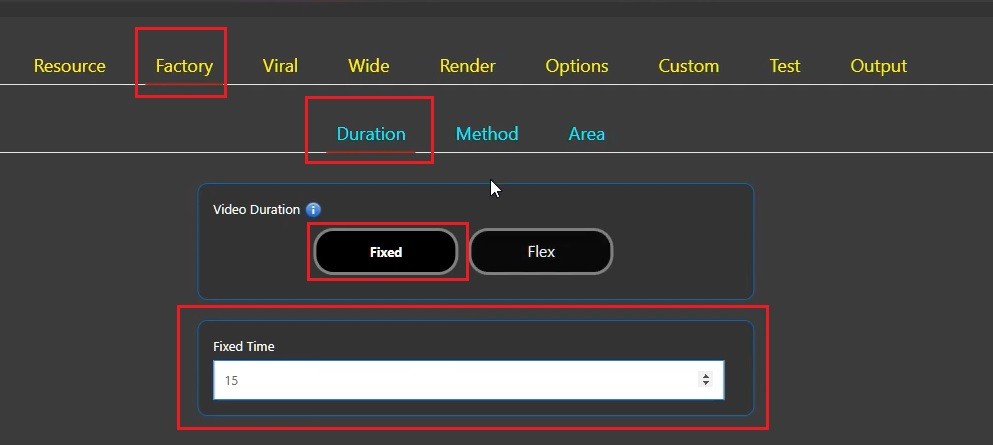
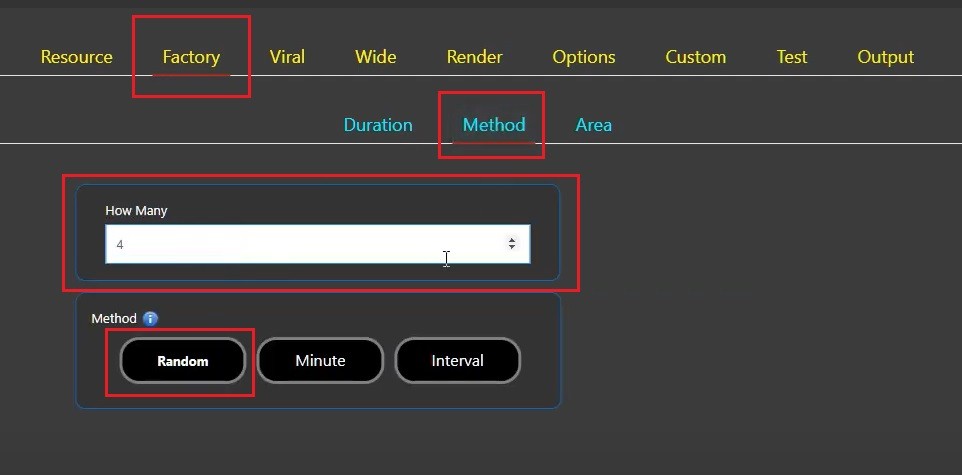
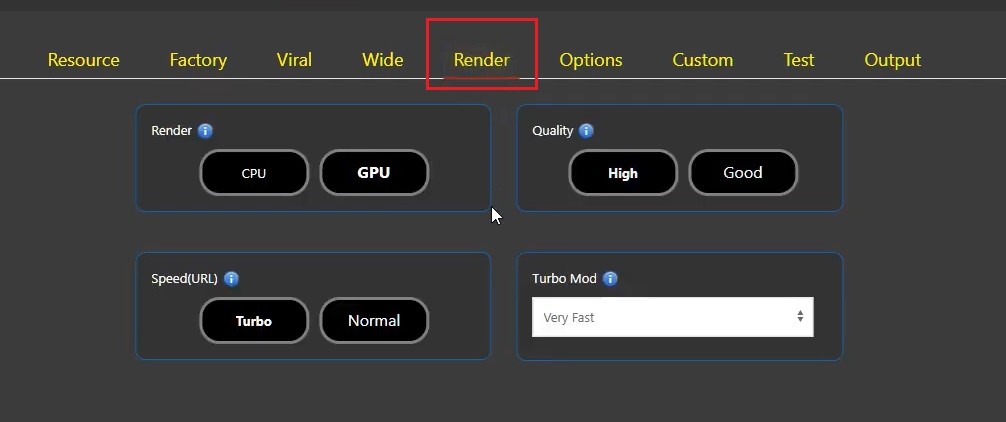
3️⃣ Factory > Method > Random mode is selected, and How Many is set to 4. With this setting, 4 unique contents will be created from random moments of the target video.
4️⃣ The Area mode is left as Default as we want to create vertical content.

6️⃣ Our product video has been added to the system from the ‘Video to Merge’ option in the Options > Merge Video section.
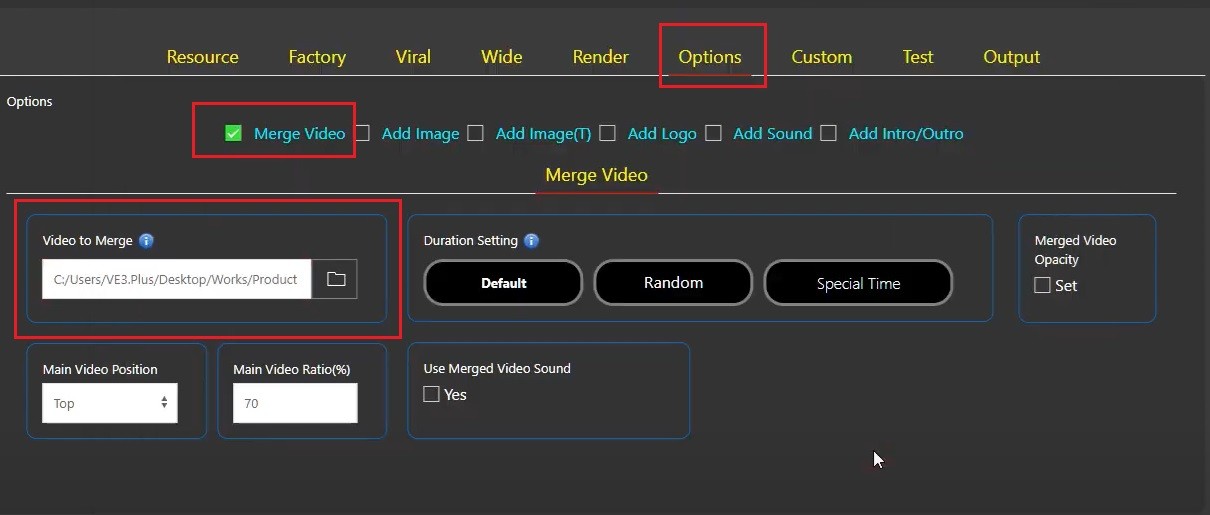
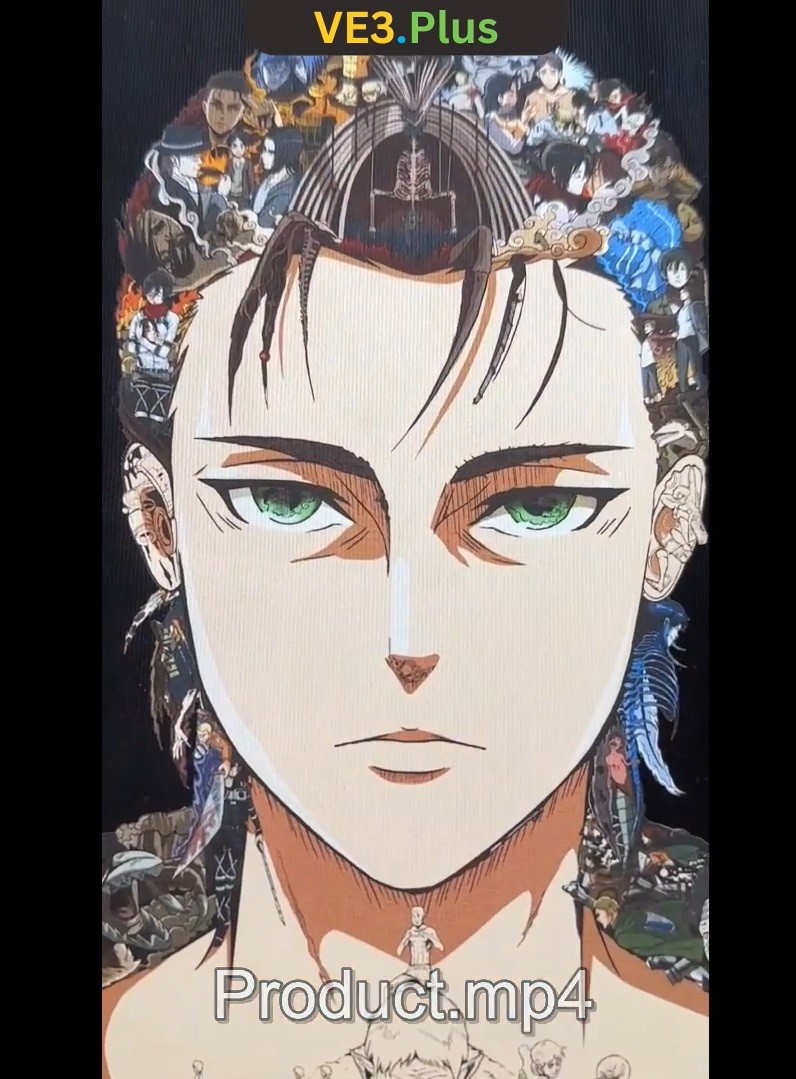
ℹ️ Since it is preferred to use content obtained from Youtube (Main Video) and content that will change in each production, the product video (Video to be merged) is defined in the system with the “Merge Video” option.
7️⃣ After completing the Video Merging process, we moved to Custom Design and defined a custom background in GIF format.
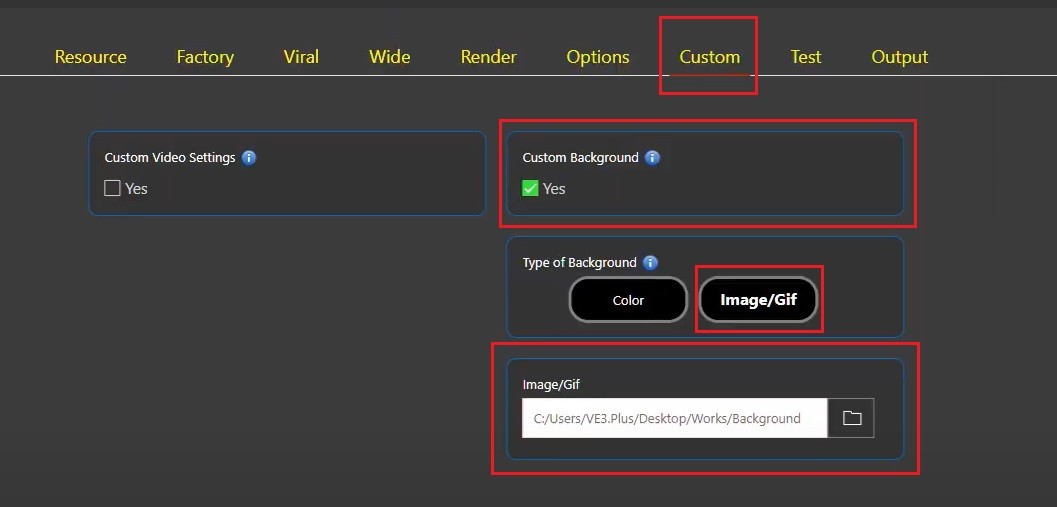
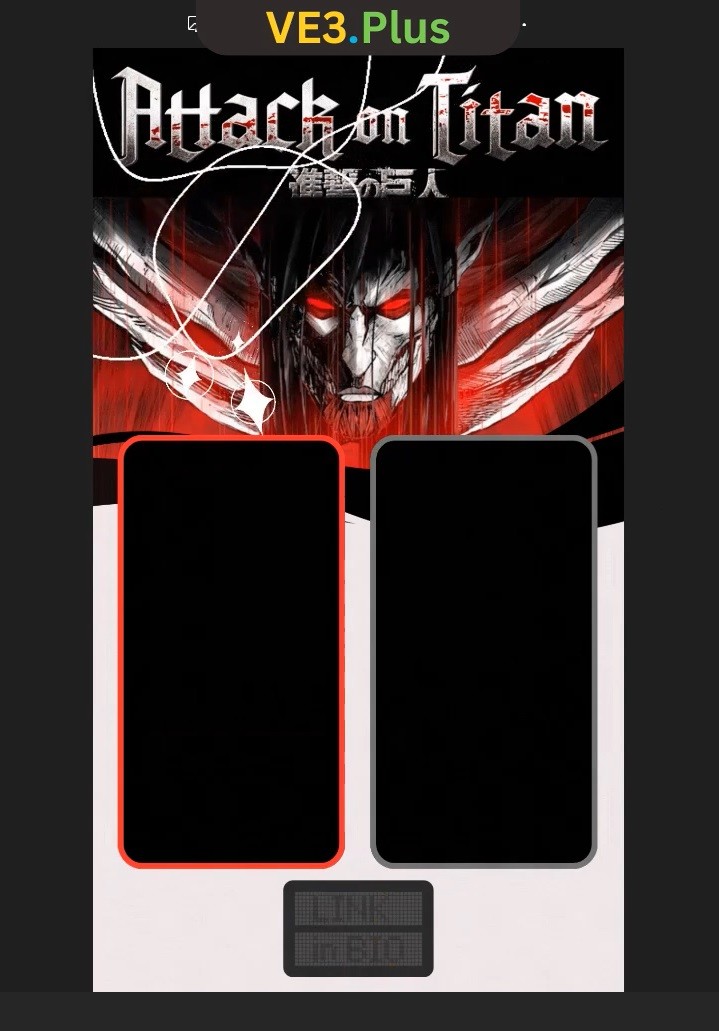
8️⃣ After defining the Custom Background, we can now integrate our product video and the content obtained from YouTube into the background in a compatible manner. For these processes, “ Custom Video Settings ” has been enabled.
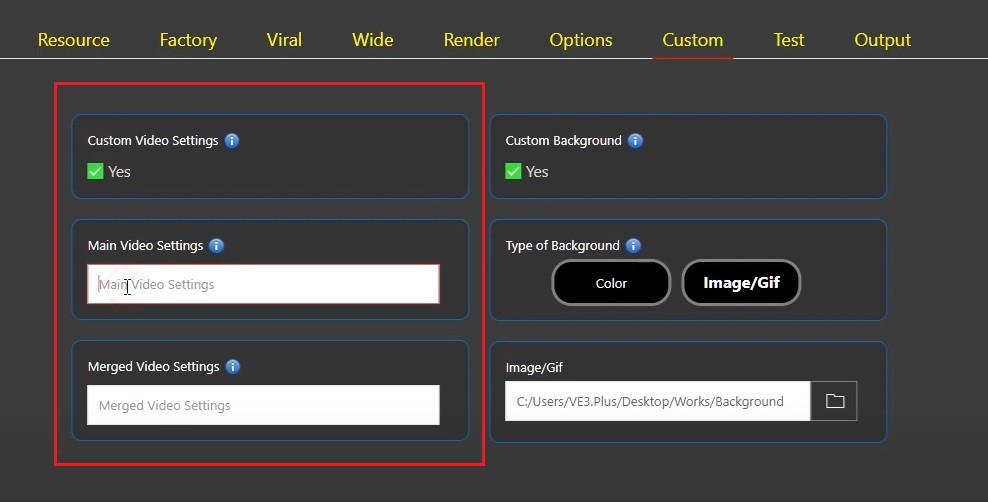
ℹ️ As mentioned above, in this work, the Main Video is our YouTube video, and the Video to be Merged is our product video.
9️⃣ Paint is opened and the background is transferred here. The red rectangle is where our product will be placed and the gray rectangle is where the content obtained from Youtube will be placed.
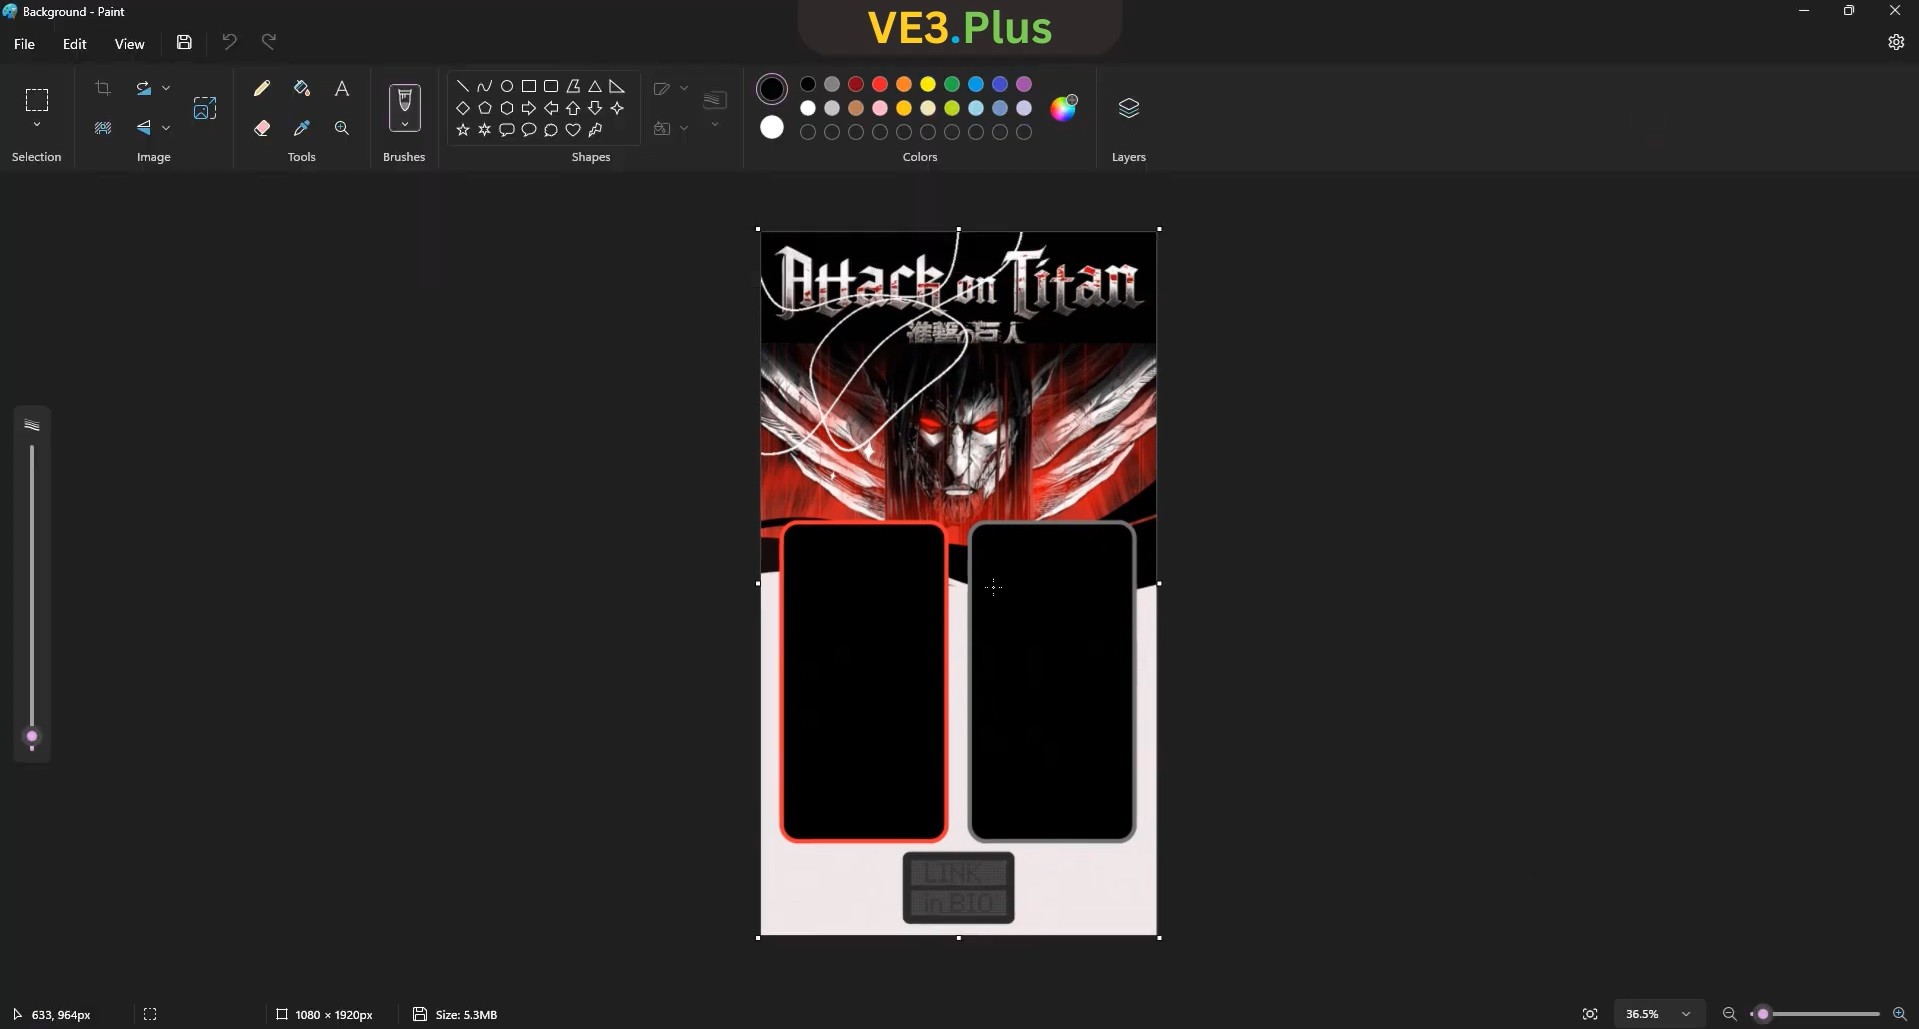
🔟 For the integration of our product video, the entire red rectangle from start to finish is selected, and resolution values are obtained.
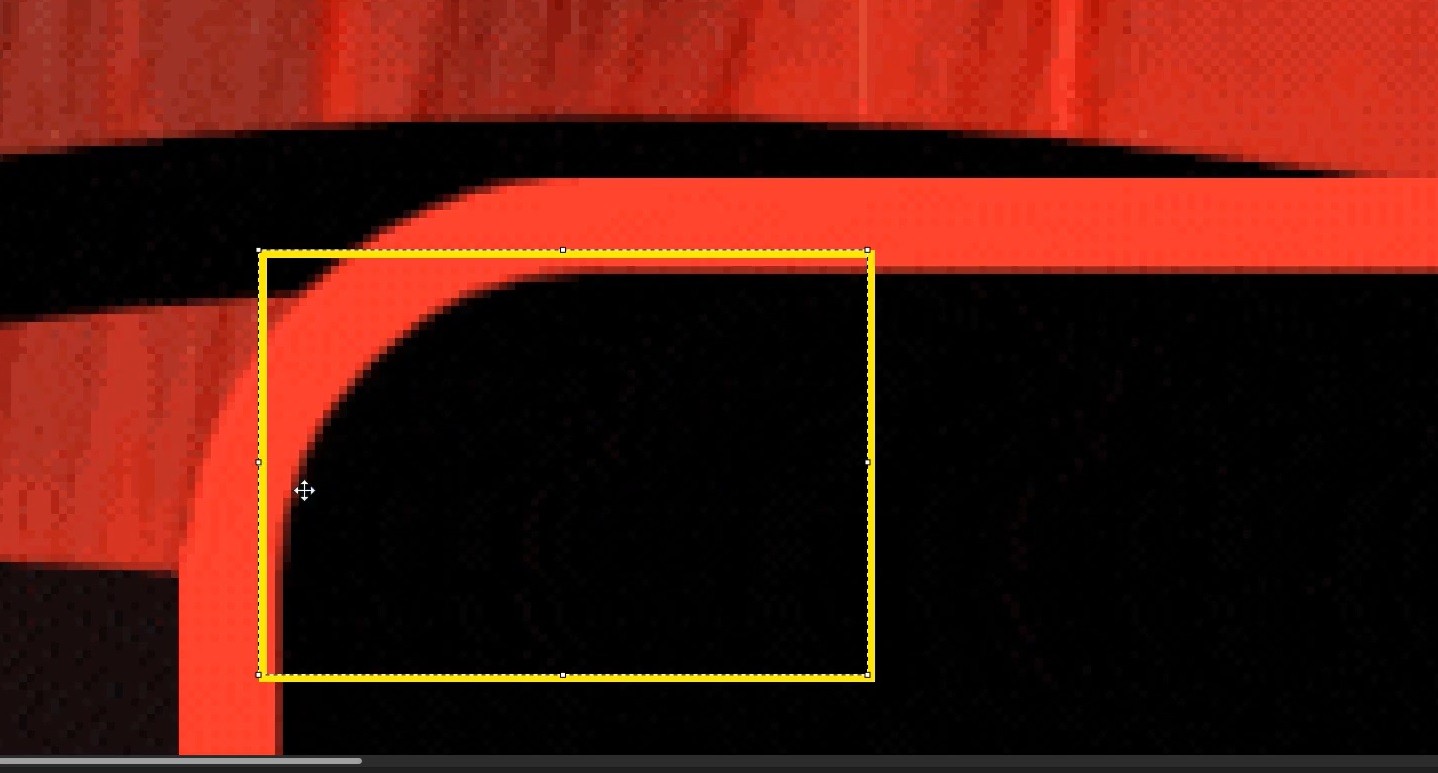
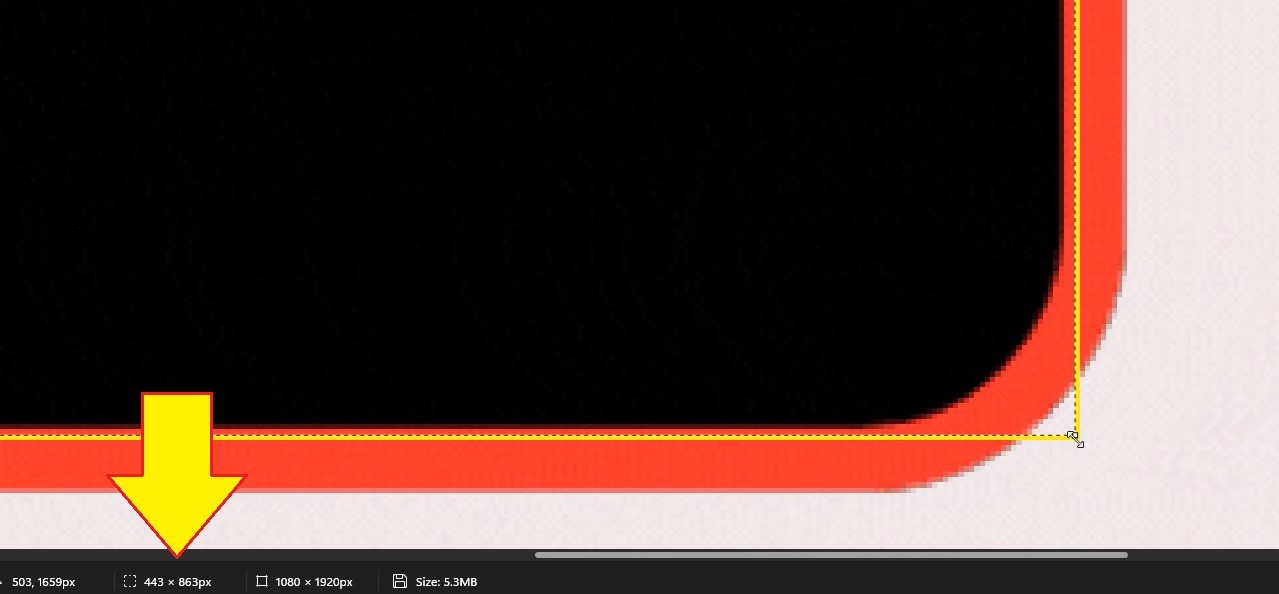
1️⃣1️⃣ The obtained resolution values are added to the Merged Video Settings section.
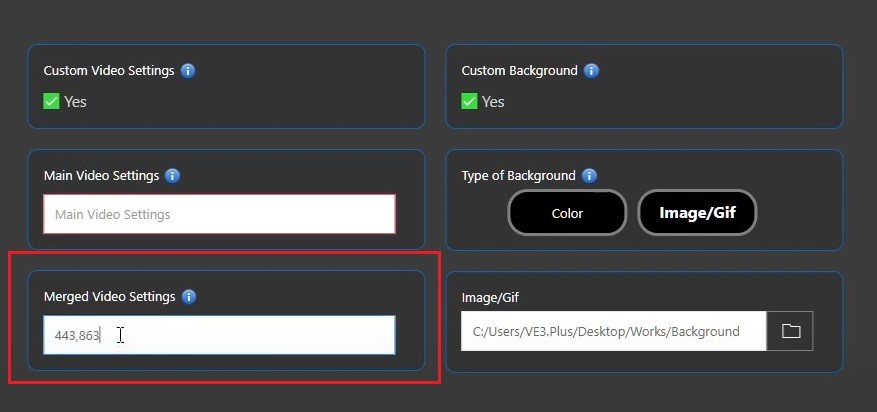
1️⃣2️⃣ After entering the resolution, coordinate details must be provided. These controls are carried out, and the obtained values are added next to the resolution values.
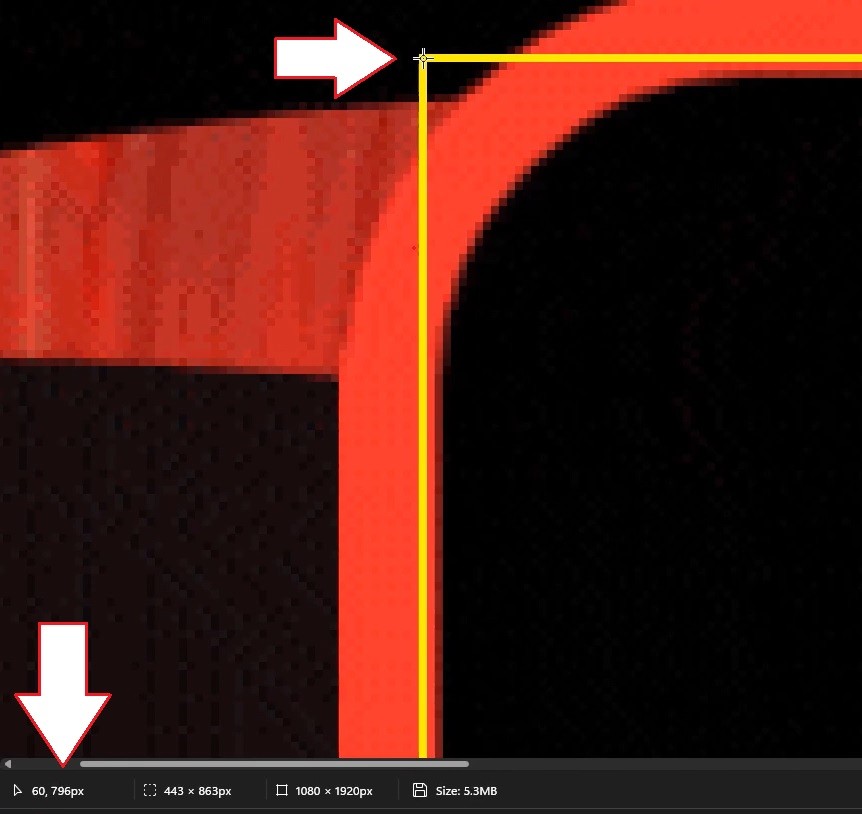
1️⃣3️⃣ Since the areas covered by the product video and the video obtained from YouTube on the background are equal, the resolution values of the product video will be the same as those of the YouTube video. Therefore, the resolution values in the “Merged Video Settings” section have also been added to the “Main Video Settings” section.
1️⃣4️⃣ Next, the position of the video obtained from YouTube needs to be determined. The necessary adjustments are made, and the obtained coordinate values are added next to the resolution information.
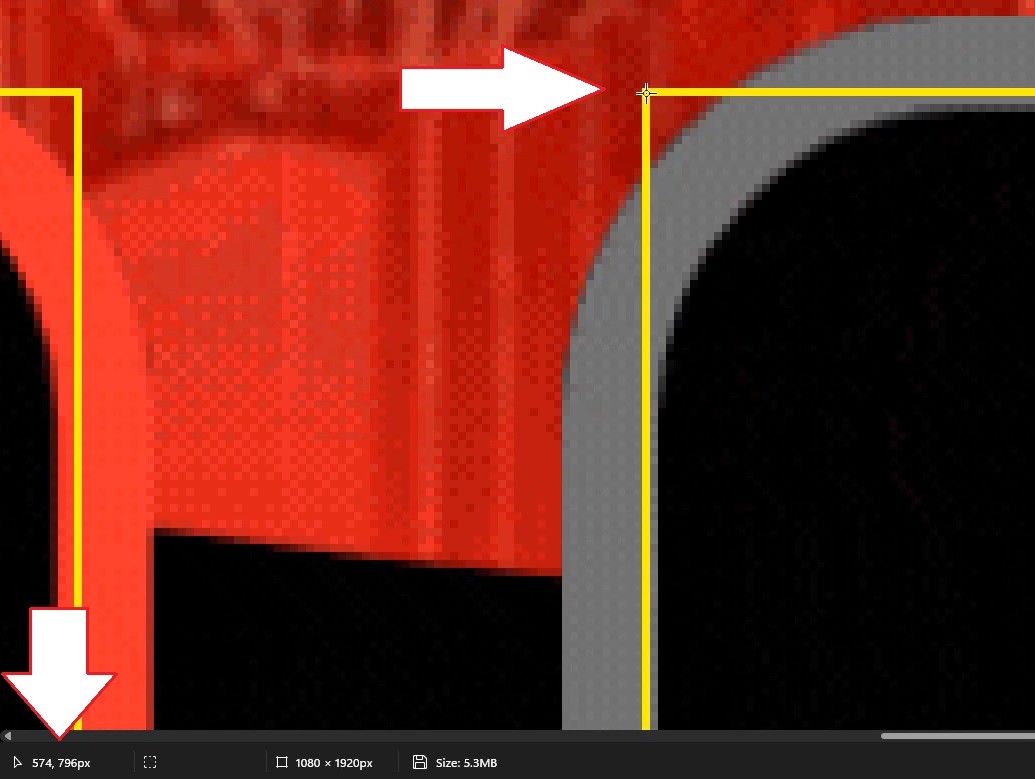
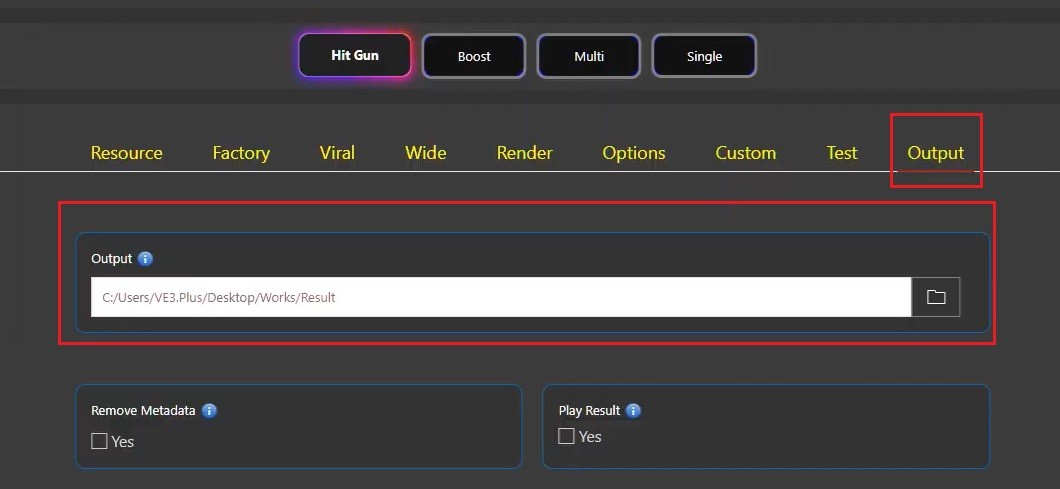
1️⃣5️⃣ After completing the Custom Video Settings, the folder for saving the content is selected.
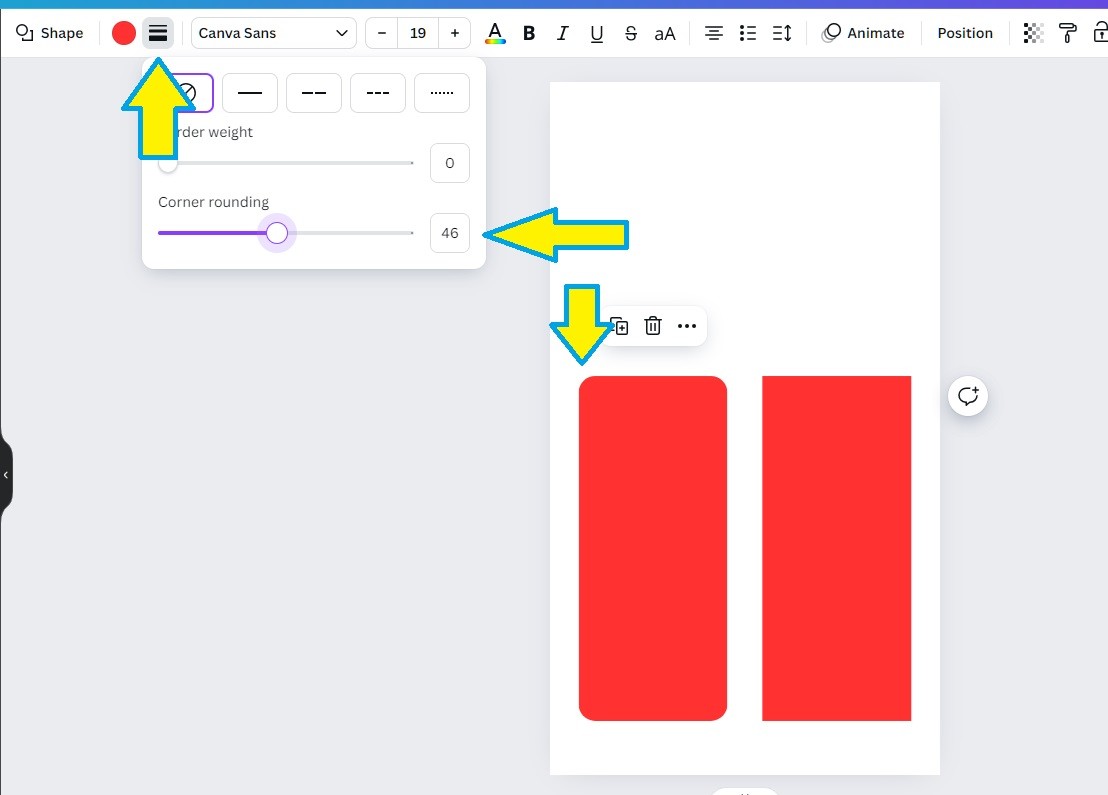
1️⃣6️⃣ Once the settings in the “General” menu are completed, the final step is to proceed to the Rounded Corners settings. These settings ensure that the integration of the product and YouTube videos with the background is seamless. Normally sharp corners are rounded with this adjustment.

🗒️ Note: To determine the optimal Rounded Corners setting, you can use Canva. While creating your design, apply the “Corner rounding” setting from Canva to our system. If you’re starting a new project, first create the design on Canva, obtain the necessary Rounded information, and then apply it to our system. You can also use this method for circle creation.
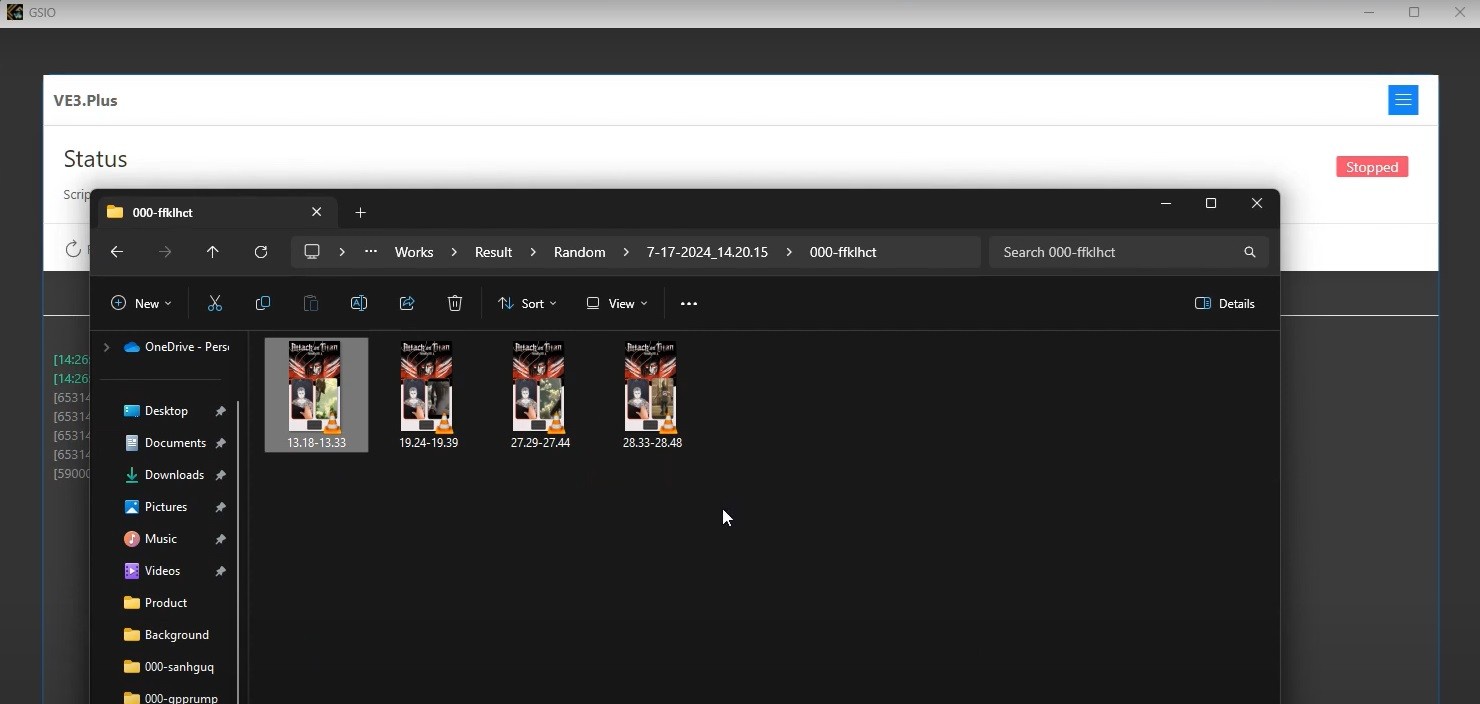
1️⃣7️⃣ After configuring the Rounded Corners settings, the system is started, and once the process is complete, checks are performed.
📕 Learn More
📺️ Tutorial List (Fast Access)